You are viewing the RapidMiner Radoop documentation for version 9.9 - Check here for latest version
Connecting to Cloudera Data Platform
For your reference Cloudera Data Platform Private Cloud Base version 7.1.4 was used while creating this document. The following setup guide suits a Kerberized CDP cluster with TLS authentication supporting High Availability for Hive, HDFS and YARN services, which is the most common production use-case.
Configuring the Hadoop cluster
The cluster side configurations listed below can be done by a user with admin privileges in the Cloudera Manager instance used to administer your CDP cluster.
Spark dependencies
Setup Apache Spark
Radoop does not support Cloudera's preinstalled Spark distribution currently. We have tested and verified all Radoop functionality using Apache Spark. To ensure Spark related operators in Radoop function as expected, you need to upload certain Spark assemblies to HDFS on your cluster. Any directory can be chosen but make sure Radoop users have read permission for that HDFS location. Script below crafts all the required artifacts from Apache download location using Apache Spark 2.4.7 with Apache Hadoop 2.7 and Scala 2.11:
   # Setup Spark 2.4.7 libraries from Apache mirror
   wget https://downloads.apache.org/spark/spark-2.4.7/spark-2.4.7-bin-hadoop2.7.tgz
   tar -xzvf ./spark-2.4.7-bin-hadoop2.7.tgz
   zip spark-jars.zip --junk-paths --recurse-paths ./spark-2.4.7-bin-hadoop2.7/jars

   # Copy Spark assembly onto HDFS
   hdfs dfs -mkdir -p /tmp/radoop-spark
   hdfs dfs -put ./spark-jars.zip /tmp/radoop-spark

   # Copy SparkScript operator dependencies onto HDFS
   cd ./spark-2.4.7-bin-hadoop2.7
   hdfs dfs -put ./python/lib/py4j-0.10.7-src.zip /tmp/radoop-spark
   hdfs dfs -put ./python/lib/pyspark.zip /tmp/radoop-spark
   hdfs dfs -put ./R/lib/sparkr.zip /tmp/radoop-spark

   # List all the Spark assemblies that have been put onto HDFS
   hdfs dfs -ls /tmp/radoop-spark
If everything went well the output should be very similar to this:
  [root@ip-10-0-26-10 spark-2.4.7-bin-hadoop2.7]# hdfs dfs -ls /tmp/radoop-spark
  Found 4 items
  -rw-r--r--   3 hadoop spark      42437 2020-11-18 12:16 /tmp/radoop-spark/py4j-0.10.7-src.zip
  -rw-r--r--   3 hadoop spark     593464 2020-11-18 12:16 /tmp/radoop-spark/pyspark.zip
  -rw-r--r--   3 hadoop spark  216369223 2020-11-18 12:16 /tmp/radoop-spark/spark-jars.zip
  -rw-r--r--   3 hadoop spark    1973839 2020-11-18 12:16 /tmp/radoop-spark/sparkr.zip
Add Java 8 to worker nodes
Although Cloudera supports running their cluster on Java 11, but since Apache Spark 2.4.7 runs only on Java 8 (read more). Thus all worker nodes must be equipped with that version. This can be achieved either by running the whole cluster on Java 8 (which can be effortlessly configured in Cloudera Manager) or by installing a Java 8 on all the worker nodes into a local file system directory of your choice. If the latter was chosen, then please share that location with Radoop users since they will need it during their connection setup.
Hive setup
Allow changes of advanced HiveQL properties
Radoop relies on its ability to set certain advanced HiveQL properties along query execution. These must be explicitly enabled - whitelisted - on the cluster.
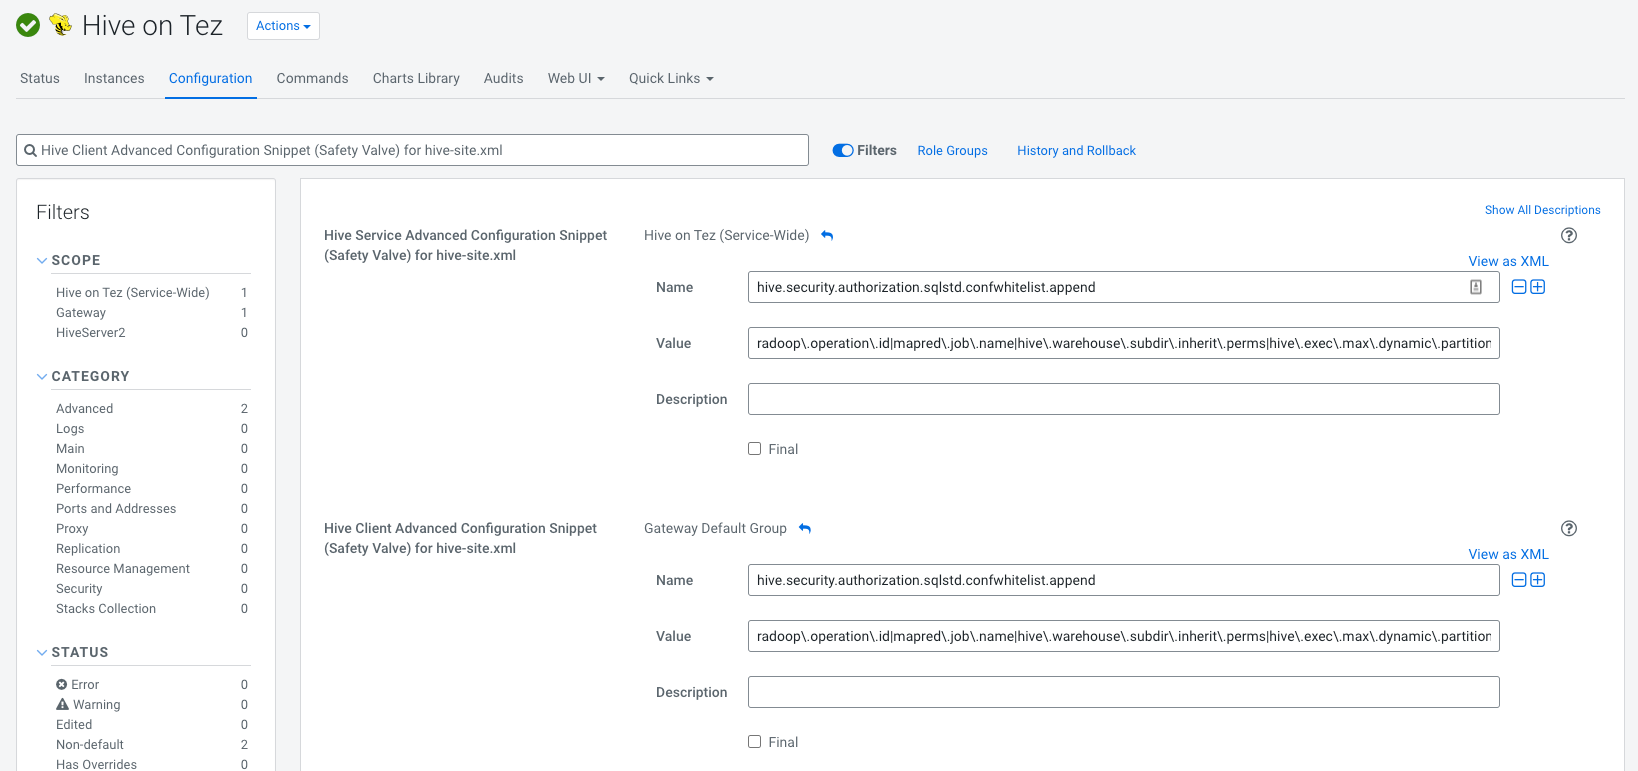
- Navigate to Hive on Tez/Configuration in Cloudera Manager
Search for
Hive Client Advanced Configuration Snippet (Safety Valve) for hive-site.xmladd the following both for Service and Client configurations (it must contain no whitespaces):Name: hive.security.authorization.sqlstd.confwhitelist.append Value: radoop\.operation\.id|mapred\.job\.name|hive\.warehouse\.subdir\.inherit\.perms|hive\.exec\.max\.dynamic\.partitions|hive\.exec\.max\.dynamic\.partitions\.pernode|spark\.app\.name|hive\.remove\.orderby\.in\.subquery|radoop\.testing\.process\.nameIf everything went well it should like this:
Enabling Radoop UDFs in Hive
Complex functionality of Radoop is partly achieved by defining custom functions (UDF, UDAF and UDTF) to Hiveserver2 extending its capabilities.
- Install RapidMiner Parcel
- Navigate to Hive on Tez/Configuration in Cloudera Manager
- Search for
hive_aux_jars_path_dirand add the following value/opt/cloudera/parcels/RAPIDMINER_LIBS/lib/radoop/ - Restart Hive service (and possibly other stale services) to pick up changes.
- Register Hive UDF functions for Radoop
YARN configuration
Set YARN's logging configurations to allow reading of YARN application logs submitted by Radoop. Collecting and reading the CDP default IFiles is not supported currently thus using TFiles needs to be configured explicitly. In order to read YARN logs, enabling read permission for the log folder in HDFS is required.
- Navigate to YARN/Configuration
- Search for
yarn_log_aggregation_file_formatsand set it's value toTFile - Search for
yarn_log_aggregation_TFile_remote_app_log_dirand set it's value to/tmp/logs - Search for
yarn_log_aggregation_TFile_remote_app_log_dir_suffixand set it's value to/logs - To finish YARN setup restart stale services.
Networking
Please follow the general description for networking setup for accessing Hadoop cluster. In case of an isolated network setup, Radoop users will need the connection details for a deployed Radoop Proxy.
Security configuration
- To ease Radoop Connection setup for Radoop users it is recommended to create and share a technical account in Cloudera Manager with which the Radoop Connection Import Wizard can perform its job. Such account can be created in Cloudera Manager under Administration/Users & Roles select Add Local User and set it's Roles to Read-Only.
- Radoop users are going to require a handful set of permissions (eg: access HDFS, execute HiveQL, submit YARN job) which should be already in place of a working cluster. For the exact set please refer to Configuring Apache Ranger authorization at Hadoop Security.
- On a Kerberized cluster Radoop users need their keytab file and KDC details in order to authenticate to the cluster.
- Radoop users will need the CA certificate and other trusted certificates in PEM format to establish secure communication with Hadoop services via TLS.
Setting up the Radoop connection in RapidMiner Studio
Operating a CDP cluster can happen on multiple environments with different network setups. During the setup process it is crucial to take into consideration whether the cluster is running on a separate, isolated network. In the latter case the Hadoop cluster is not aware of its nodes external addresses hence using Radoop Proxy is required in order to operate properly.
The configurations in the following section need to be set on both secured and non-secured clusters. We strongly recommend using the Import from Cluster Manager tool to create the connection, as several advanced properties required for correct operation are seamlessly gathered from the cluster during the import process.
Auto-TLS Encryption ships with CDP clusters and Radoop Proxy also supports SSL. If any of those is equipped with an untrusted (aka self-signed) certificate for SSL you need to add the certificate(s) to the
cacertsfolder in RapidMiner Studio home in order to establish secure communication channel.Use
 Import from Cluster Manager to create the connection directly from the configuration retrieved from Cloudera Manager. The import process doesn't use Radoop Proxy thus Cloudera Manager has to be accessible over network for this task. If SSL is enabled, pick the hostname which corresponds the certificate installed in the previous step.
When using Kerberos, set Client Principal with the corresponding Keytab File, KDC Address and the REALM on the Global tab.
On the Spark tab, untick Use default Spark path and point Spark Archive (or libs) path to the HDFS location where the required Spark distribution had been uploaded by Hadoop administrator. Tick Use custom PySpark archive and Use custom SparkR archive and point the corresponding archive paths to the HDFS location where the
pyspark,py4jandsparkrpackages are stored.On the Spark tab, if Java 8 is not the default on the cluster, then add these two advanced properties specifying
JAVA_HOMEof the installed Java 8 for the Spark driver and executors.spark.yarn.appMasterEnv.JAVA_HOME=/path/to/java8/installation spark.executorEnv.JAVA_HOME=/path/to/java8/installationOn the Hive tab, enter the Database Name to connect to. Choose a database where privileges for all operations are granted for the given user. In case your Hadoop administrator installed RapidMiner Parcel, tick UDFs are installed manually, otherwise Radoop will register UDFs at runtime.
In case of using Radoop Proxy there should be a proxy connection ready to it. As a final step for a Radoop Connection tick Use Radoop Proxy on the Radoop Proxy tab and select a Radoop Proxy Connection which had been created for this cluster.